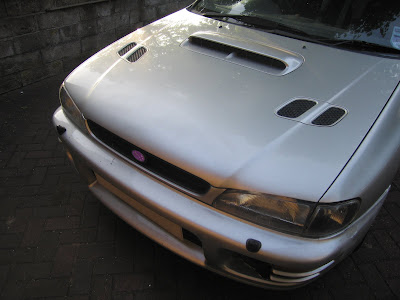

Not a bad job!
PROCESS: I marked out an area on the bonnet-lip around most of the stone chips and sanded the paint completely down to the grey Subaru primer. I then began to spray on lots of very light coats of paint to avoid drips and run-marks - each coat dries in 5 mins. if it's a reasonably warm day. The contours of the sanded areas start to show up though after a few coats and I think the paint bunches up around the edges so I gave it a light rub down with very wet 600/1500 grit Wet/Dry paper every few coats to stop the paint ridging. After a lot of rubbing down and spraying [well, it is my first try], I got the lip covered and more-or-less blended with the rest of the bonnet.
I left the paint to dry overnight and then began rubbing it down with the super-fine 1500 grit Wet/Dry paper, soaked in plenty of water. As well as to clean the paint surface, rubbing it like this is required to create a smooth matt-finish for the lacquer to coat it properly. [which I would never have guessed as the paint match looks so good anyway.] I then started to spray the lacquer on, coat after coat, until I'd used about half the can!
To finish I'll need to use the Rubbing Compound [a bit like T-Cut] to smooth the lacquer down to match the rest of the bonnet and give the seamless finish I'm after, but it'll have to wait - the lacquer-can recommends waiting 2 weeks first!
Either way it's given the bonnet the much needed facelift! [along with properly fastening the grill, which I'll cover later in a bit about engine-dressing] The peppered lip and those 3 giant nostrils are history!


No comments:
Post a Comment